
How to Install Luxury Vinyl Plank (LVP) Flooring featuring Flooret
Installing luxury vinyl plank (LVP) floors was our first major renovation project that we did ourselves and we are SO happy with the results. It has really transformed the look and feel of our basement.
We wanted to install something stylish, affordable, and easy to clean. LVP hit all those requirements. If you are interested in getting LVP flooring in your home you’ll find the complete tutorial on how to install LVP here.
This project is great for beginners in the home renovation space. With the two of us working together and in shifts, it took about three weeks to install the LVP from start to finish.
You can watch the process, installation finale, and furnished basement reels here.
Why We Chose Luxury Vinyl Plank Flooring from Flooret
While there are many options for LVP, Flooret came the most highly recommended from other people who have DIYed their flooring. On first glance I loved the look of Flooret’s LVP. They have beautiful hardwood design options plus many to choose from. With the help of Flooret’s virtual demo app and samples, we ended up choosing Soho Base. This really helped us envision what the space would look like and I downloaded the images to mood board some furniture pieces.
Use this link and code RADIANTABODE33 for 33% off samples!
Here is the full list of reasons why we went with Flooret’s LVP:
- Came highly recommended
- Easy installation with groove and lock mechanism
- Pre-attached underlayment so you don’t have to buy it separately
- Scratchproof and waterproof (we put our samples to the test!)
- Ecofriendly, they are made with sustainably sourced and renewable materials
- Great pricing at $2.95 per SF
Materials & Tools Needed for Installation:
Luckily installing LVP doesn’t require many power tools. You may only need them for intricate cuts.
These are all the materials and tools that you will need during the installation your LVP flooring:
- Luxury Vinyl Planks (ours are from Flooret)
- Baseboards and trim
- Tapping block
- Rubber mallet
- Pull bar
- Hammer
- 1/4-inch spacers
- Tape measure
- Knee pads
- Utility knife
- Carpenter’s square
- Straightedge
- Electric saw
- Dremel
- Nail gun
- Plastic wood filler
- Caulk
- Marker
- Face mask
- Painter’s Tape
How to Install Luxury Vinyl Plank (LVP) Flooring: Step-by-Step
Step 1: Measure your floor
You will need the square footage (SF) of your space in order to purchase the correct amount of LVP. You don’t want to get stuck in the middle of your home renovation with no planks! Here is a link to help you calculate the SF of your space.
TIP: If you have blueprints of your home you may find the SF there.
I advise you to make a sketch of your space and write down all the measurements. You will refer back to it many times throughout your project including when you have to plan furniture!
Make note that you’ll need about 10% more LVP to account for when you make mistakes. A nice feature of ordering from Flooret is that they can calculate the extra % of LVP for you.
You will also need to measure the length of the space between doors or rooms for transition pieces. These pieces are used where your flooring ends. Transition pieces make the transition to different styles of flooring look seamless. For example if the next room has carpet, you want to make sure your LVP has a smooth edge to the carpet.
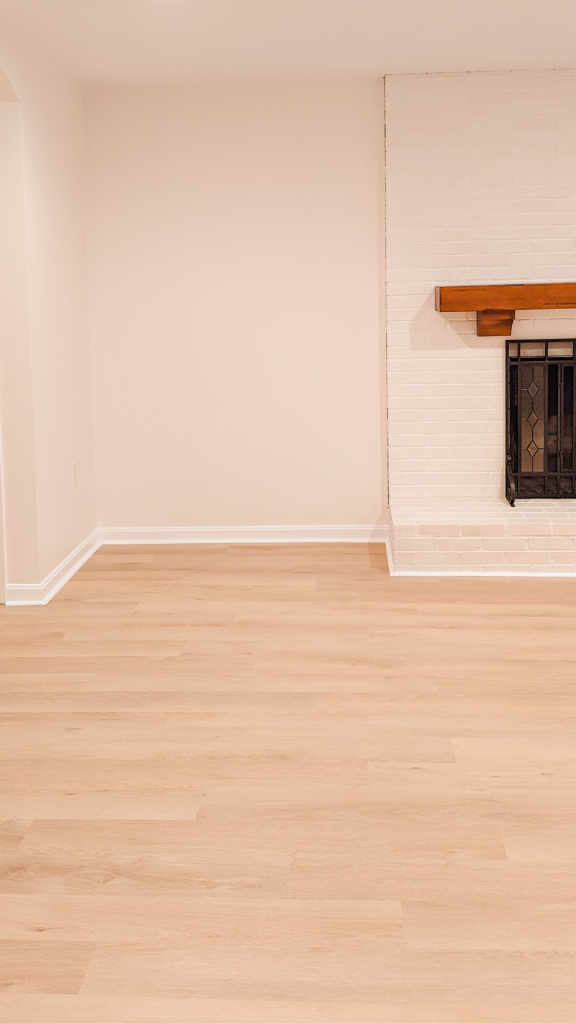
Step 2: Prep and level your floors
Now that you’ve measured and ordered your LVP, you can get started on prepping your floors. You will need to remove any carpet and old baseboards. As long as you have a hard surface floor, you can lay your LVP on top of that. The awesome feature of LVP is that it “floats” meaning it doesn’t have to be nailed or glued down.
The next important step is to check if your floor is level. If your floors aren’t level it can cause the planks to bow and unclick. You can level your subfloor with a leveling compound. You can find more information about subfloor prep here.
Step 3: Make a plan for laying your LVP
This is where you are going to refer to that sketch you made of your space in step 1! You will need to decide which direction you want to lay your planks and where to begin laying.
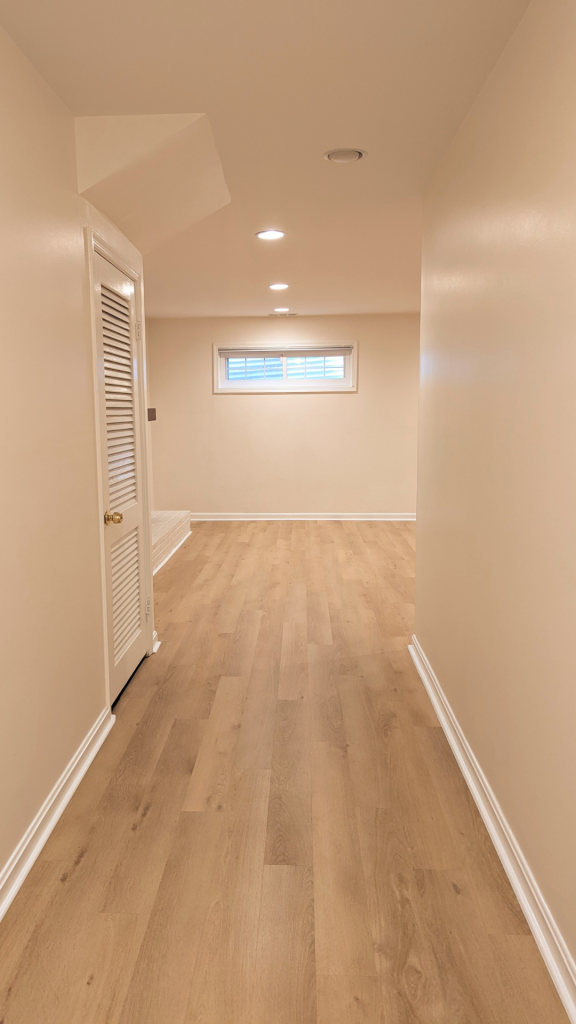
The Flooret demo app really helped us with these decisions. You can visualize how the space will look with the planks going east-west or north-south starting from the entrance of your space. We ended up choosing east-west because it made our space look larger. This way the LVP would run lengthwise down our main hallway without us having to break a ton of pieces to fit them horizontally. We also started in our hallway to make sure we had less pieces to split lengthwise. The less pieces you have to break the easier and quicker your install will be!
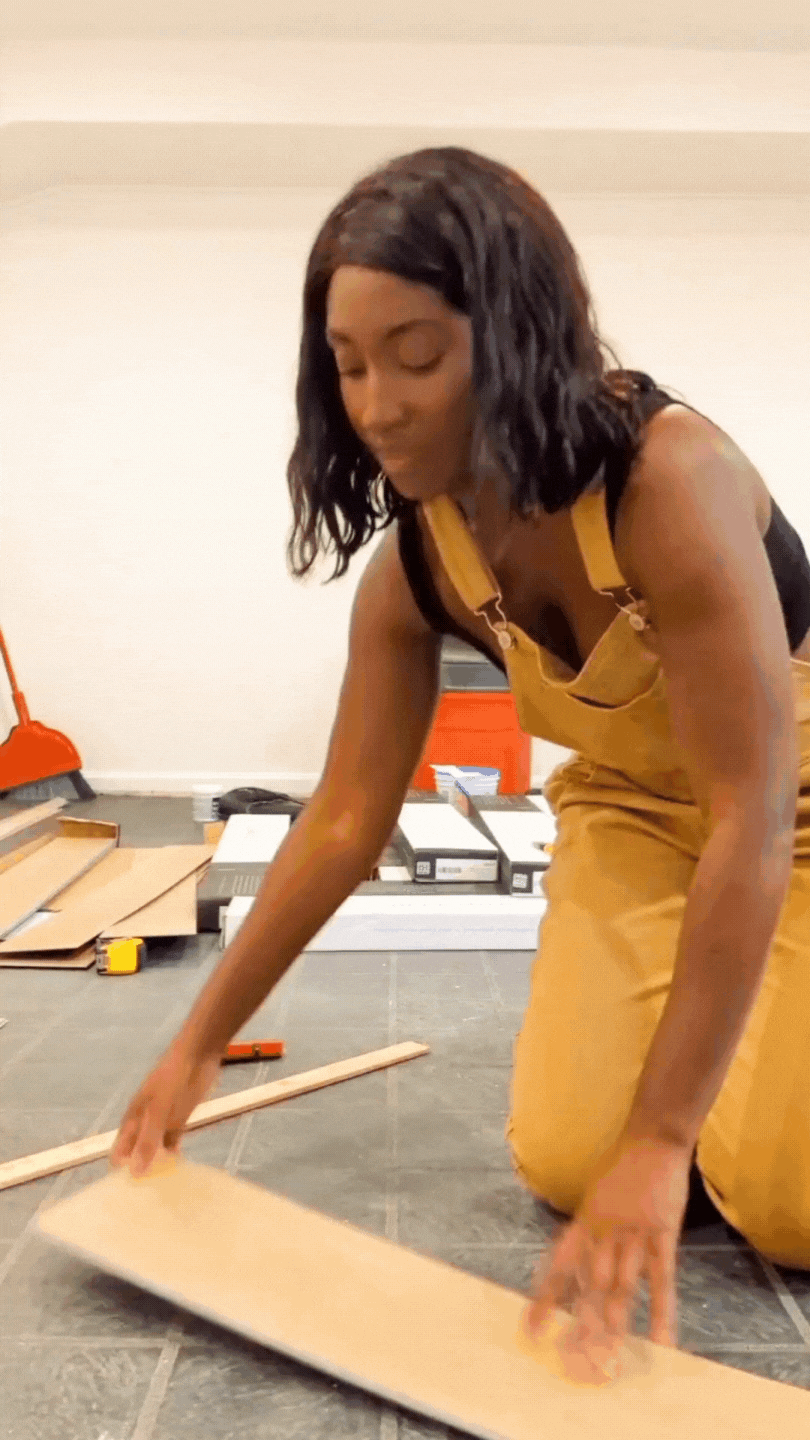
Step 4: How to install on the day of
Congrats, your LVP arrived and you’re ready to start laying! Now what?
Other LVP brands will require you to acclimate your planks to your home for a few days. Flooret does not require acclimation because of the stable core in their planks. Huge win, you can start when you’re ready!
First you will want to open your boxes and check out your pieces. There are different patterns so you want to mix and match the planks so that not all your pieces are the same style when you start laying.
Use 1/4″ spacers near the wall to account for LVP movement. LVP floors are floating so they move slightly when they expand and contract. If you lay them too tightly against the wall they can bow and unclick. Give them some wiggle room!
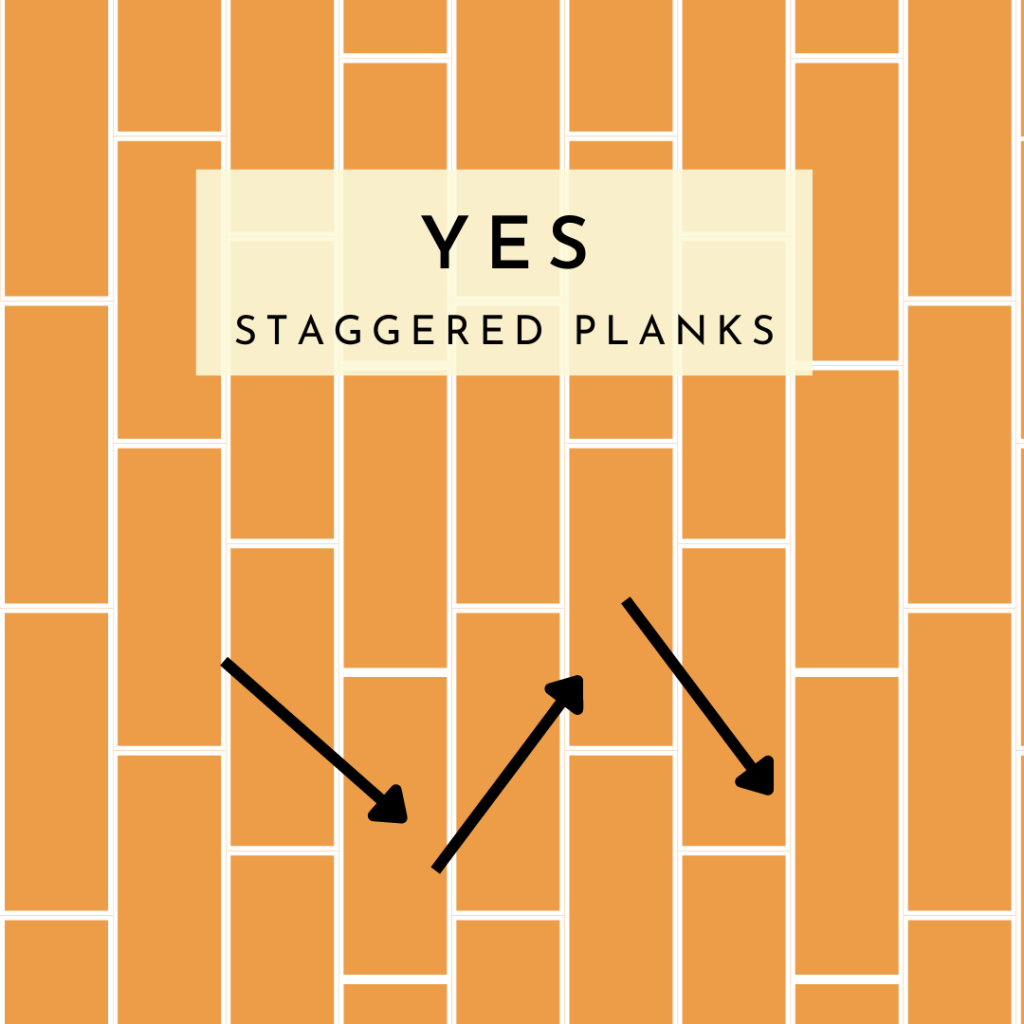
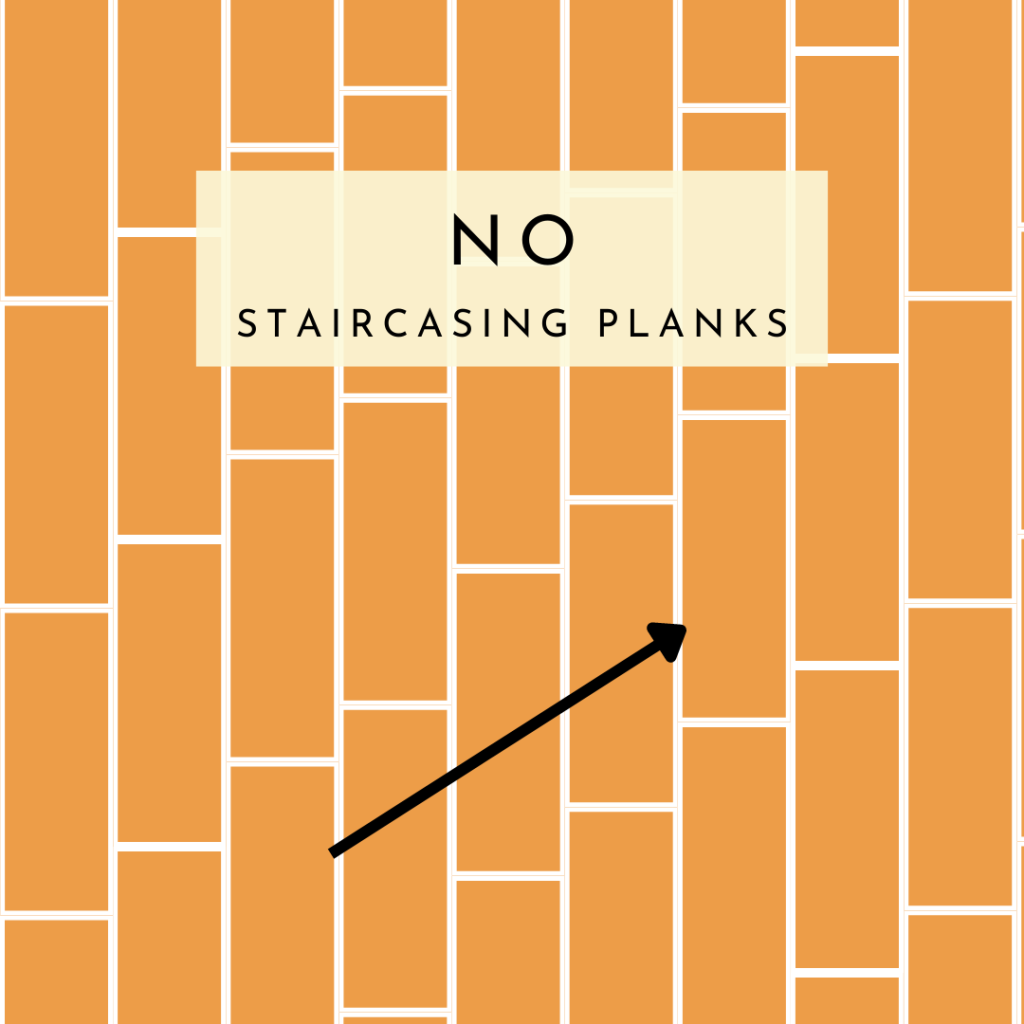
You will also need to stagger your planks and not staircase them (view images below). Start each row with a different length plank but do not alternate! You can maybe restart your pattern every 5 rows. This will enhance the connections making it harder to unclick in the future. Your LVP floors will be much more stable.
With each plank you will want to knock it together with the tapping block and rubber mallet. You will hear a satisfying “click” sound. The space between the planks should also disappear. Watch the tutorial from Flooret here.
How to Cut LVP Flooring
Cutting LVP is very simple. You will need a straightedge and utility knife. Whenever you want to cut a piece, make sure the edge you need to click onto the next plank is still available. Meaning, flip the plank 180° of how you will lay it. Score the breakpoint with your utility knife then bend to snap it in half. It shouldn’t take much force.
For door jambs, we used the dremel to cut out corners. If we had to cut an entire plank in half, we used the regular saw. Luckily we only had to do that a few times because we planned it that way!
Step 5: Install baseboard and trim
Once all your LVP is down you can install the baseboard and trim!
Remove all the spacers. Your baseboard should cover the gaps left behind. Use a nail gun to attach the baseboard and trim to the wall.
Finally you want to touch up all the large gaps using caulk, and nail gun holes using wood filler. Paint your baseboards, then you’re done!
Review
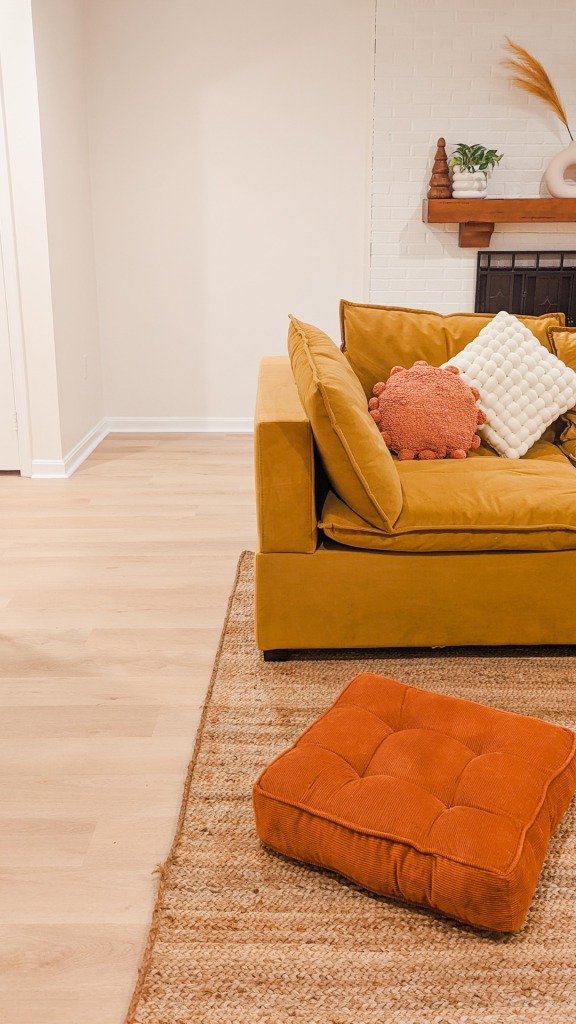
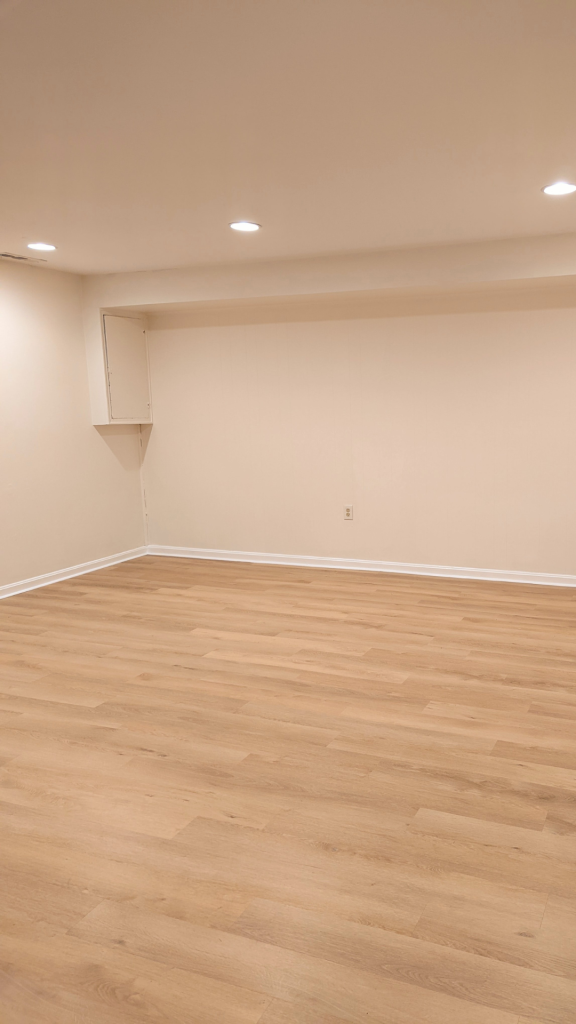
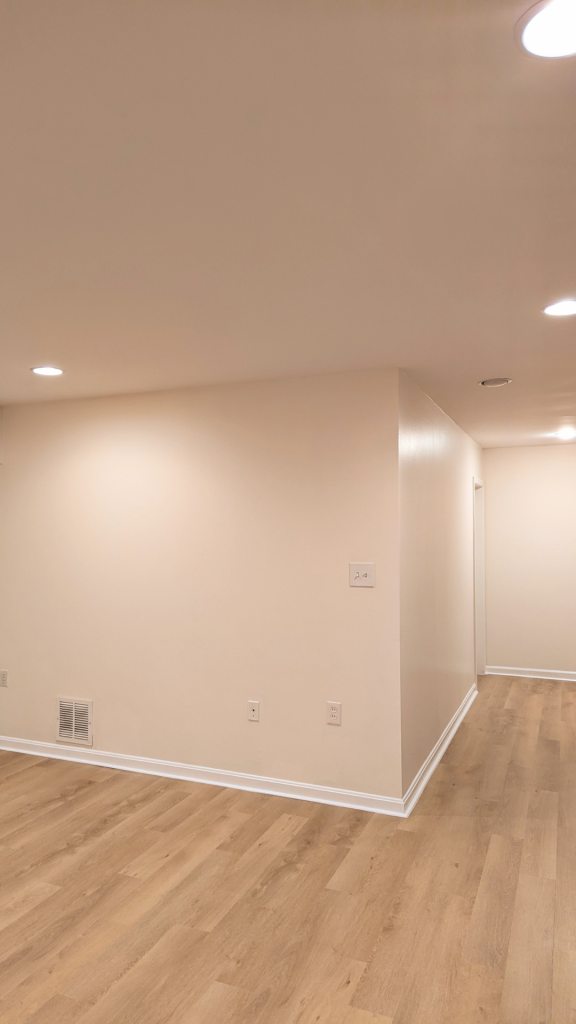
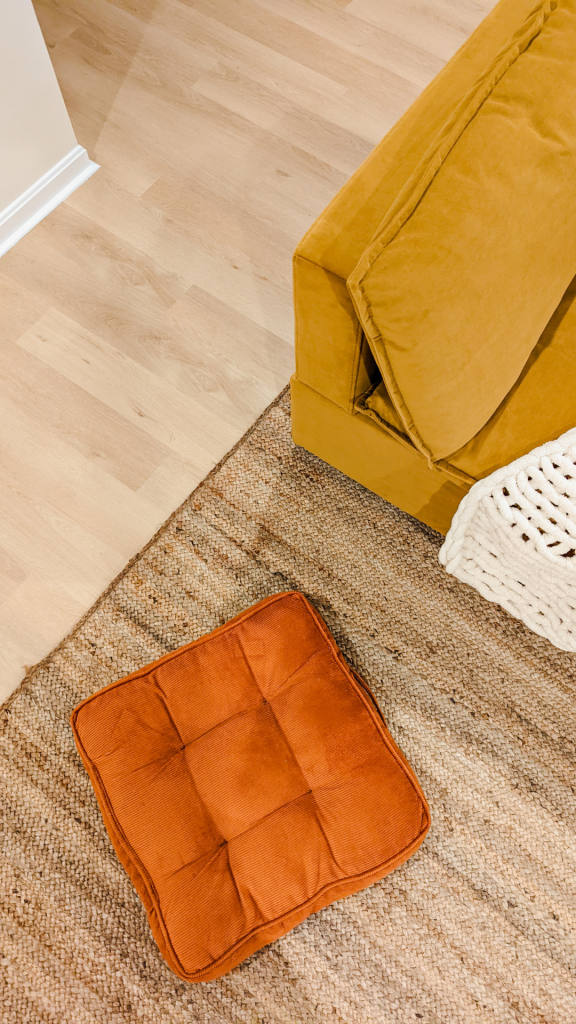
We’ve had our Flooret installed for about two months now and we love it! It definitely brightens up our basement and makes it feel more luxurious. Plus our furniture looks fabulous on top of it. The Soho Base color was definitely the right choice for us. It’s very neutral so we will be able to change styling easily. We’ve moved furniture around many times with no scratching issues. We had a little bit of paint and caulk smudged on the planks but it came off easily with an alcohol soaked rag! Feel free to message me or comment below if you have any questions!
Find more DIY projects here.
xx Sheila


NksEXwWBUGDwbGACDjAMEYchXrdb0Umuv3KLt5MaNQ7z5y5T9C0Wrv2o0dXQWlVS2CqkyZP7fBzgaSbdIpHERClB86zN1Vjs2NA6ANkhzzvD7SeiQND3zuvch26c8PhcMY5