How to Grow Tomatoes from Seed in 3 Easy Steps

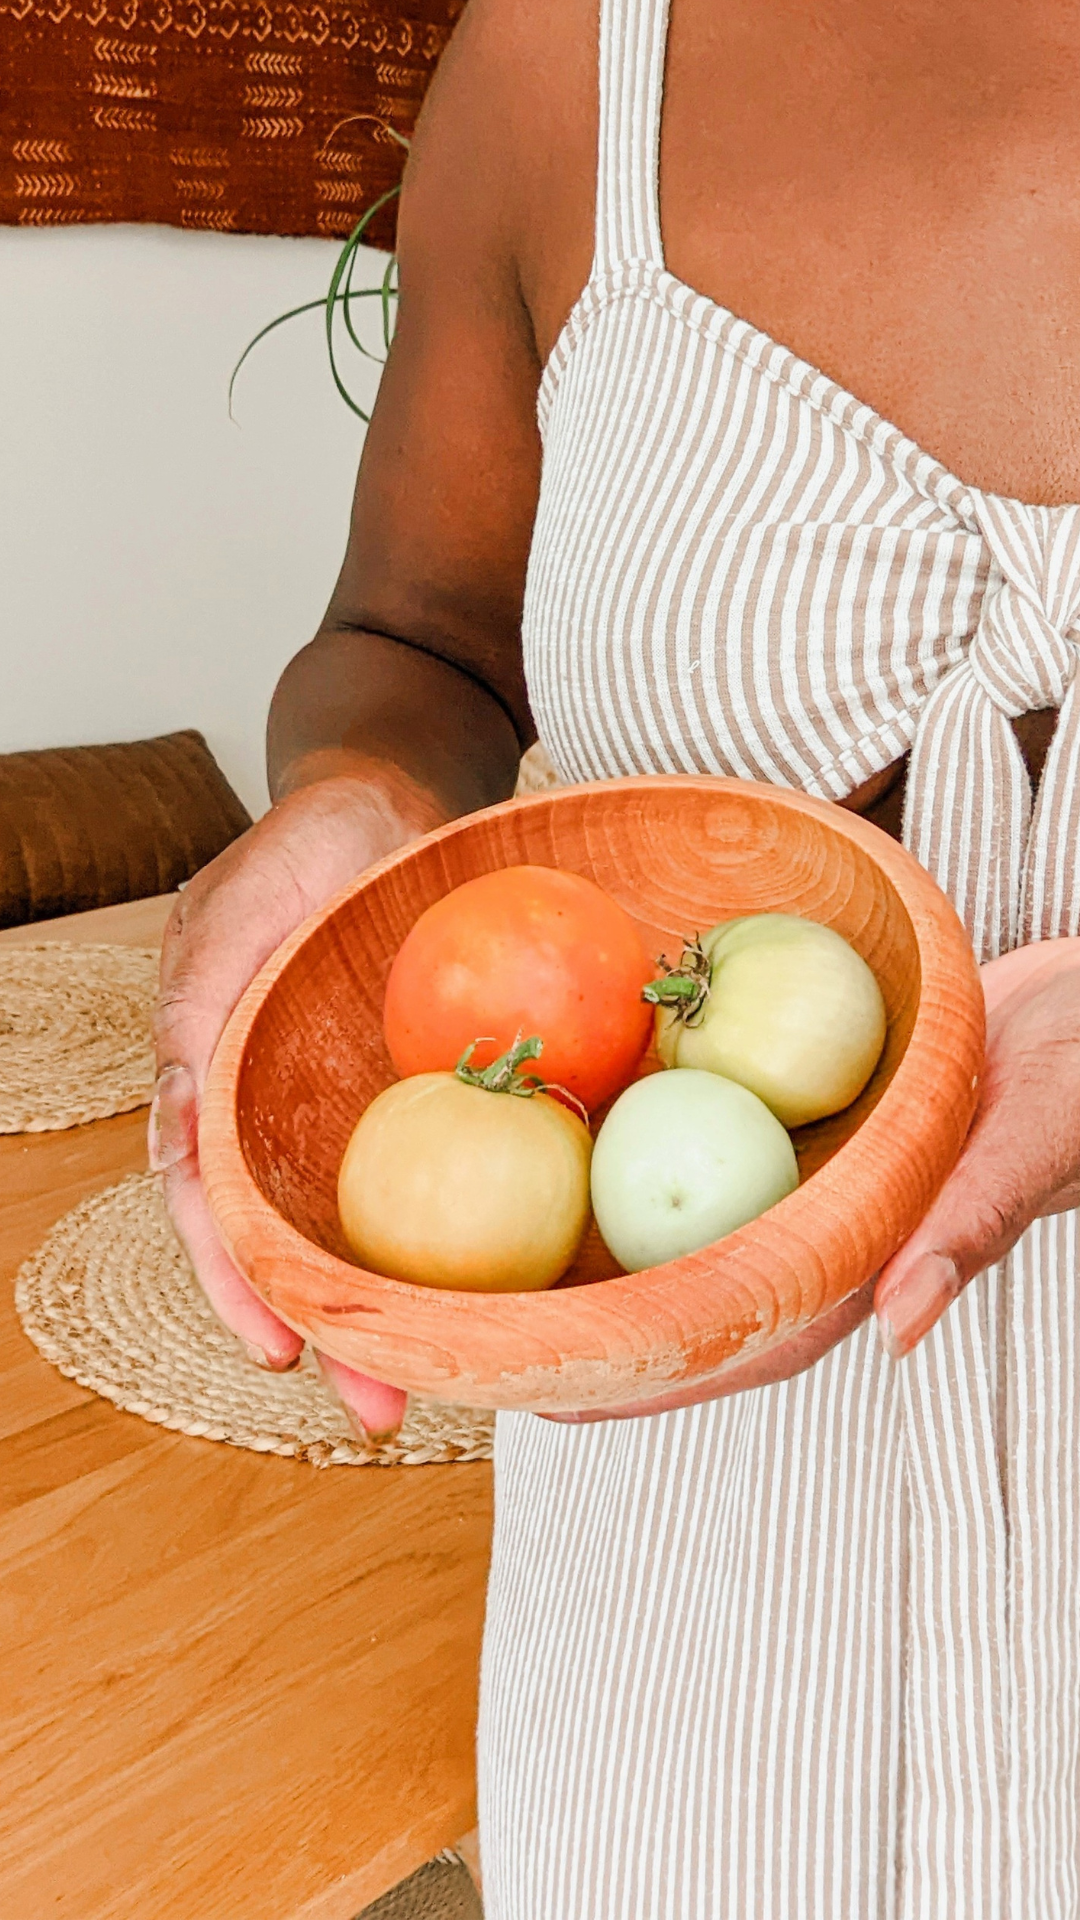
Welcome friends! Here’s how to grow tomatoes from seed so that you too can have fresh tomatoes at home! We love having organic tomatoes on hand to make fresh, tasty meals. I must say that they taste so much more flavorful than the ones you get from the grocery store.
I like that you don’t need an extravagant setup to keep tomato plants. All you need is a container and tomato cage or trellis to keep it upright. If you live someone with a balcony this setup is perfect for you. I simply keep my tomato plants in fabric planters on my porch and they grow really well. I’ve always bought tomato plants that were already started from my local garden center but this time I wanted to grow it myself from an itty bitty seed. Keep reading to learn step-by-step how to grow tomatoes from seed.
Watch my IG reels on how to grow tomato seeds part 1 and part 2 here!
When should I start my tomato seeds?
You should start your tomato seeds indoors 6 weeks before the last frost in Spring. You’ll need to search that expected date for your specific location or USDA Hardiness Zone. I found this helpful search tool where you can input your zip code and it will tell you that date. Try to germinate on time to make sure your seedlings are sturdy enough to handle moving outdoors into direct heat.
Materials Needed
Here’s a list of what you’ll need to start and maintain your tomato plants!
- Tomato Seeds
- Seed Starter Tray with Humidity Dome
- Seed Starter Heat Mat
- Grow Light
- Soil (I like Fox Farm Ocean Forest)
- 4 inch Nursery Pot
- 7 gallon Fabric Grow Bag
- Tomato Cage or Trellis
- Produce Fertilizer (I like Fox Farm Grow Big)
Check out my other plant parent picks here.
How to Grow Tomato Plants in Containers: Step-By-Step
I like to think of growing tomato plants in three stages. You’ll start with a baby seedling, then upgrade the seedling to a nursery pot, then upgrade your small tomato plant once more to a large container. This is a fool-proof system to make sure your root systems are strong!
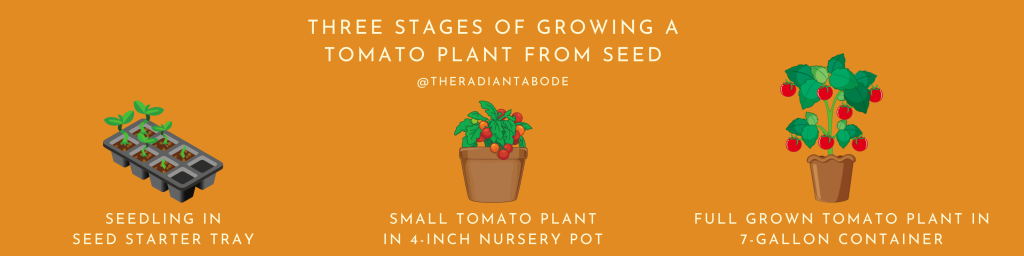
Step 1: Germinate your tomato seeds in a seed starter tray
Seed starter trays with lids are nice because they lock in the humidity, causing the seeds to germinate quicker. Begin with adding soil to your seed starter tray. Poke a small hole in each cell and add just ONE seed in each. If you have more than one seed in each cell chances are they will fight to survive on the nutrients and neither will last. I had about 90% of my seeds all germinate so don’t worry you’ll have plenty of seedlings to work with.
Add a small layer of soil on top of your seeds but don’t compact it too much. Give the seed room to stretch. Pour warm water on top of each cell. Finally, close the seed tray with the humidity cover put the tray on top of the heated seedling mat. You can expect your first seeds to start sprouting around day 3. Keep watering to maintain the moisture level.
PRO TIP: Keep your seedlings in the dark. If they can sense sunlight they will grow tall, leggy, and limp. We don’t want that.
Step 2: Transplant your seedlings into a 4-inch nursery pot
Once your seedlings have grown their first set of real leaves, then you can transplant them into the next size up. Fill your 4-inch nursery pot about halfway with soil then add your seedling. Fill the remaining space on top with soil. The seedling should come out of it’s cell pretty clean with roots dangling. You may need to let it dry a bit to make sure you don’t break it apart.
Pro Tip: If your seedlings are leggy, bury them deeper into the nursery pot. This will restabilize them.
Depending on your weather, you can put your plants directly outside or keep them indoors near a windowsill until the weather is stable.
What do I mean by “first set of real leaves”? So the two oval leaves you see when the seed first sprouts are called “cotyledon” leaves. Cotyledon leaves are there to feed the tomato plant until it can start to photosynthesize, then they fall off. The real leaves are the ones that grow next and have more of a tomato leaf shape to them.
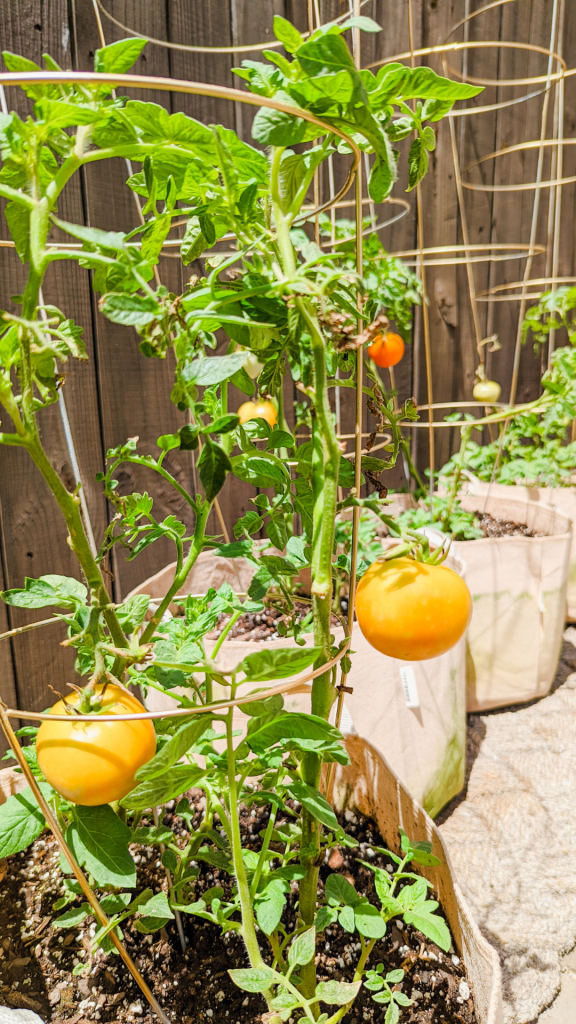
Step 3: Transplant your tomato plant into a larger 7 gallon fabric container
Once your tomato plant is taller and develops a good root system, it’s time to upgrade to the larger container! Make sure to repot before they get over 10 inches tall or they will probably struggle to keep growing.
You will use the same method as before. Fill the container halfway with new soil, add your tomato plant, then fill out the rest of the space on top with soil. Surround your plant with a tomato cage or trellis so it has support as it grows taller. Congratulations you now have a container tomato plant! Now, lets talk about how to maintain it.
How to Maintain Your Tomato Plant
It is important to maintain your tomato plants so that they keep popping out yummy tomatoes! The three main actions are watering, pruning, and fertilizing.
Watering: I like fabric containers because they allow air to pass through but also lock in water to keep feeding your tomato plant. Keep the soil moist especially if your plant gets direct heat all day.
Pruning: Cut off your tomato leaves. Yes I said that. In fact, your tomato plant will love you. It stimulates your plant to grow more leaves and to get bushier!
Fertilizing: Fertilize once a week. I mix liquid fertilizer into the water for my tomato plants.
I hope this tutorial on how to grow a tomato plant helps! I’m so excited for you to have your own tomato plant. Feel free to comment below if you have any questions or just want to rave about your tomato plants!
xx Sheila