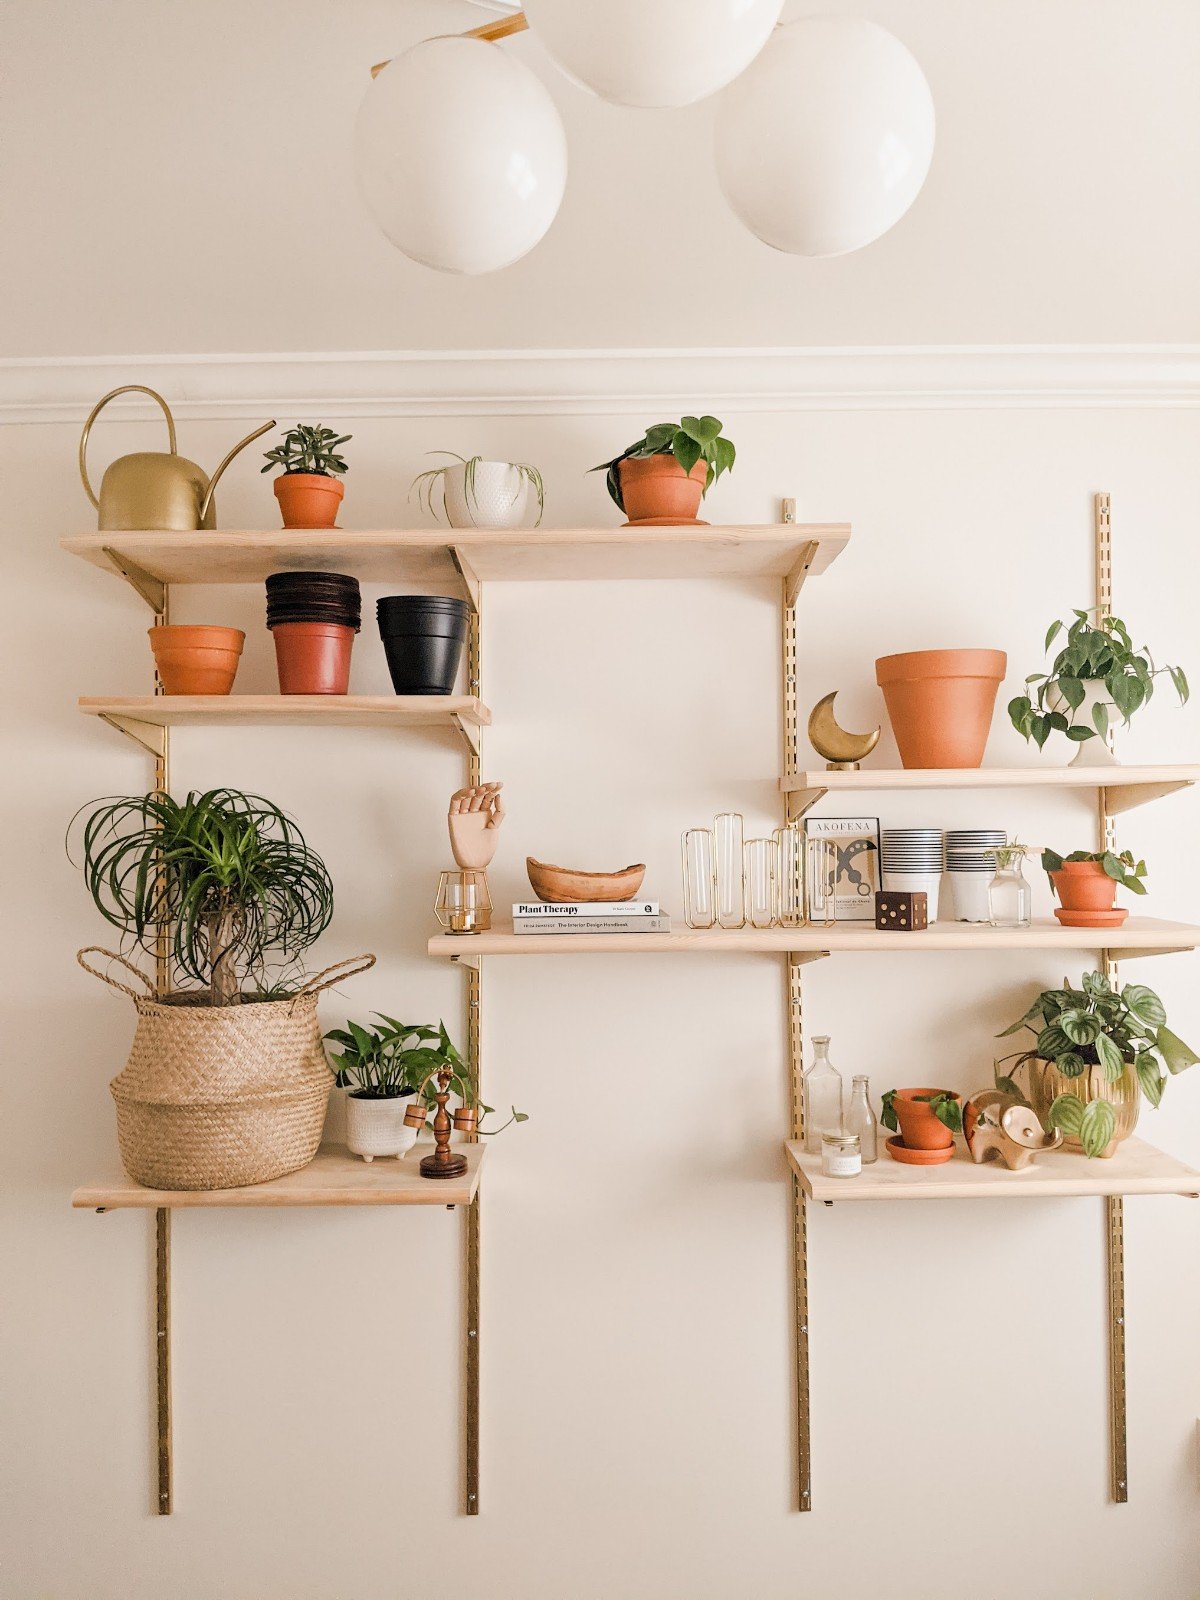
DIY: Modular Mid-Century Shelving Unit
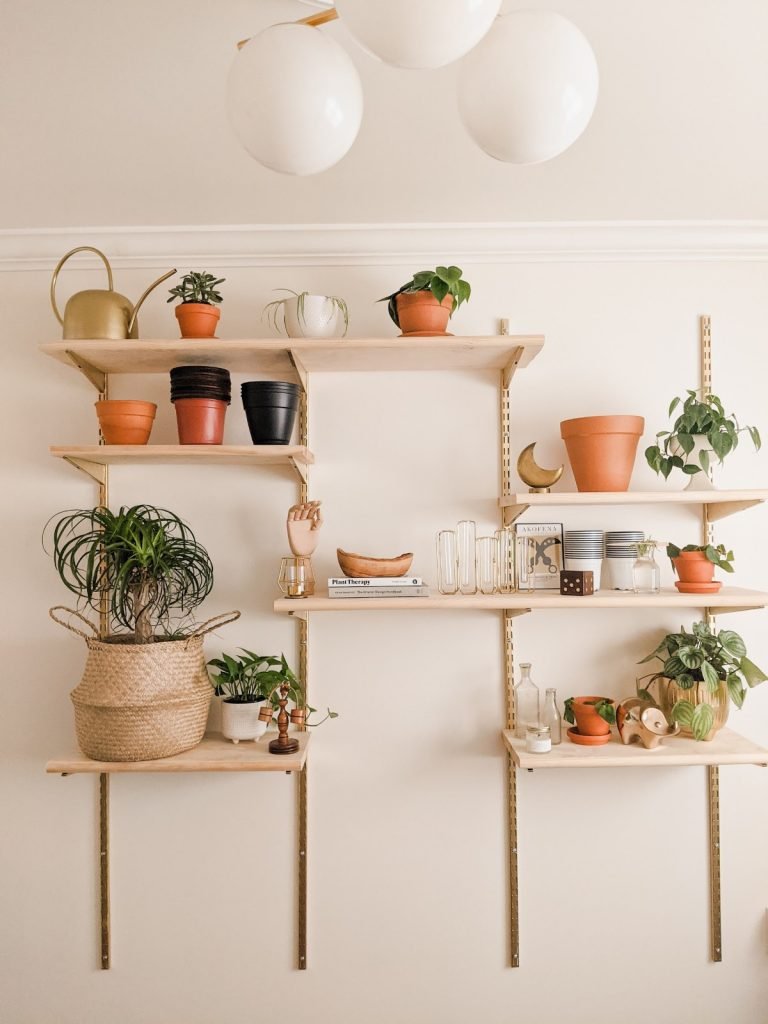
I was looking for some mid-century storage options for our office / plant room on Pinterest and came across this stunning mid-century shelving unit from the Old Brand New blog. When I found this wall unit I literally jumped for joy. It was everything I was looking for. It’s chic, affordable, and modular with the potential to be a desk. I’m super into multipurpose furniture and can’t wait to add more modular pieces to our home. I put on the Feelin’ Myself playlist and built this unit entirely by myself. It only took me a few hours to install but would be faster if you have more people. Keep reading to see how I built this fantastic shelf!
MATERIALS & TOOLS
Rubbermaid 70 in. White Twin Track Upright x 4
Rubbermaid 11.5 in. White Twin Track Under Shelf Bracket x 18
Rust-Oleum Stops Rust 11 oz. Bright Coat Metallic Gold Spray Paint
Rust-Oleum Painter’s Touch 2X 12 oz. White Primer Spray Paint
Unfinished Pine Stair Tread 48 in. x 11-1/2 in. (wood planks were getting expensive so I opted for this cheaper option and it worked great! + I love the curved edge)
Power Drill (I have Ryobi Power Tools)
Screwdriver (this ratchet style screwdriver will take the twisting stress off your hands)
Dry Wall Anchors and Screws (I used 1-3/4″) these sets also come with the exact drill bit you need which is MONEY
Tape Measure (I use the magnetic Stanley brand. GAMECHANGER)
INSTRUCTIONS
- Prime the brackets and tracks. Spray paint with minimum 2 layers of gold at least a day before install to leave enough time for them to dry.
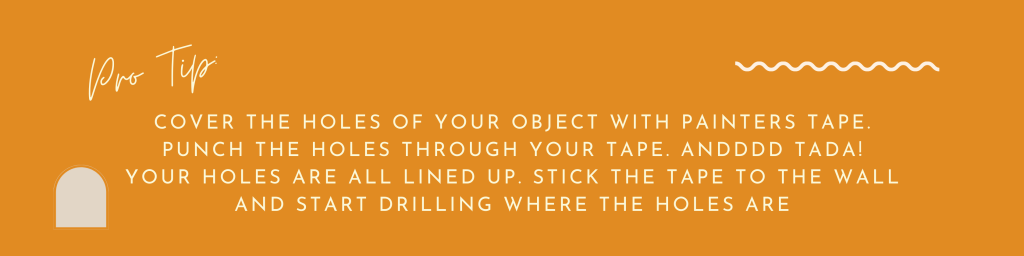
- Use painter’s tape to help you line up the holes of where your 4 upright tracks will go. This is one of my favorite hacks and saves you SO MUCH time. No more stress over marking each hole with a pencil. Check out my Instagram for how to do this hack!
- Place each line of tape 22″ from each other and at your desired height from the floor. Use a level to make sure your track will be vertically straight.
- Drill the anchors into the wall where the holes in your tape are. You can remove the tape once you are finished with all the holes.
- Line the track over your anchors and use the screwdriver to screw them in. I started from the top then worked my way to the bottom.
- Pop the under brackets into the tracks. You may have to squeeze a little to hook them in.
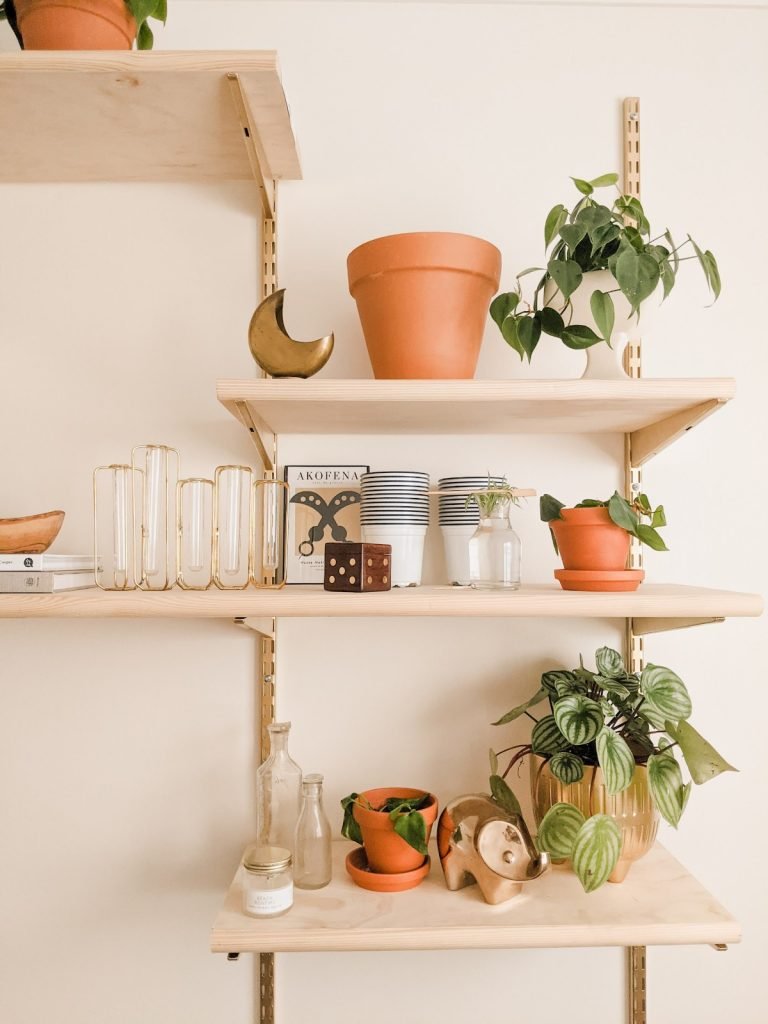
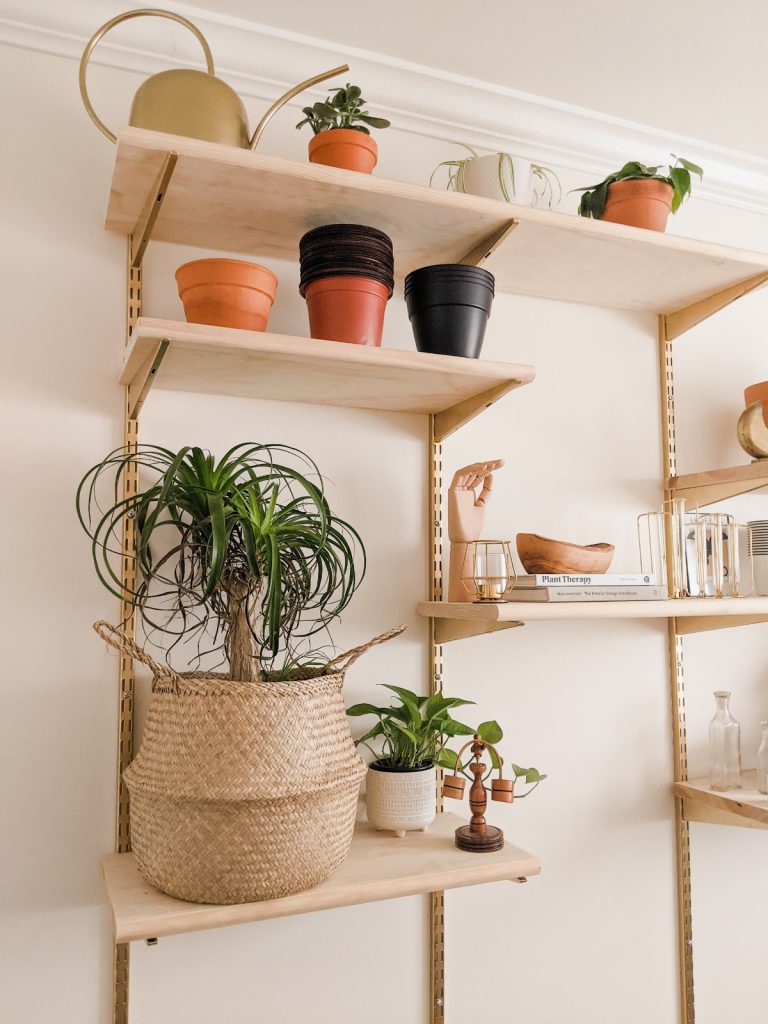
- Lastly, put your wooden shelf on top and get to decorating!
Ok friend, if you end up building this shelving unit please tag me on Instagram I would love to see and share your pics! To match your specific home style try using different paint colors and stains. Good luck!

Great post!