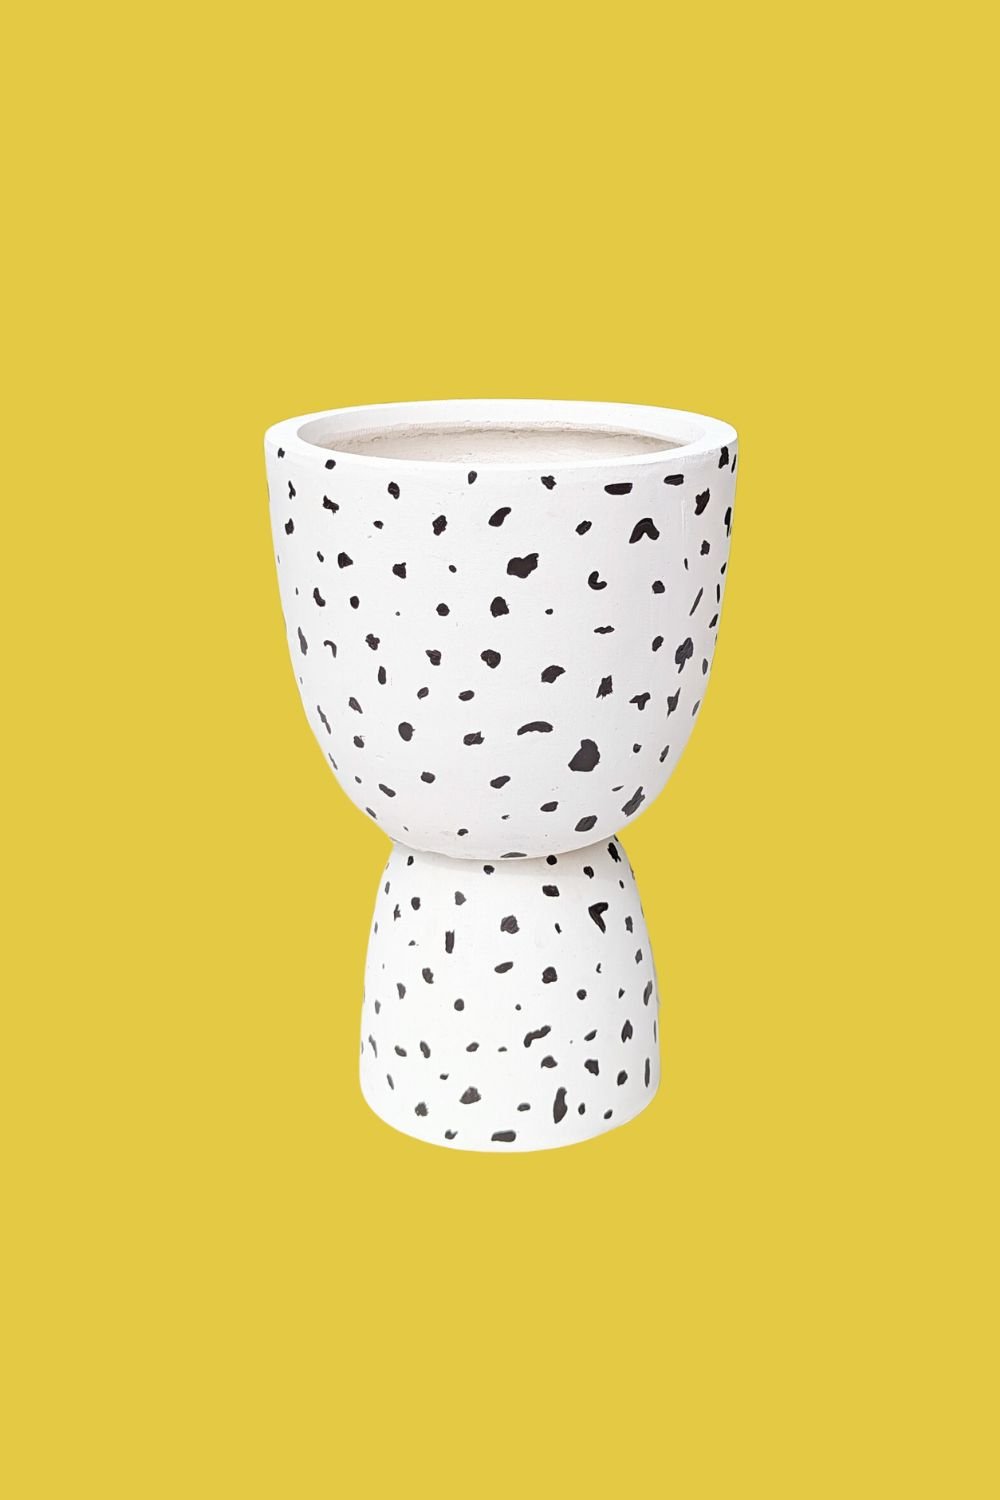
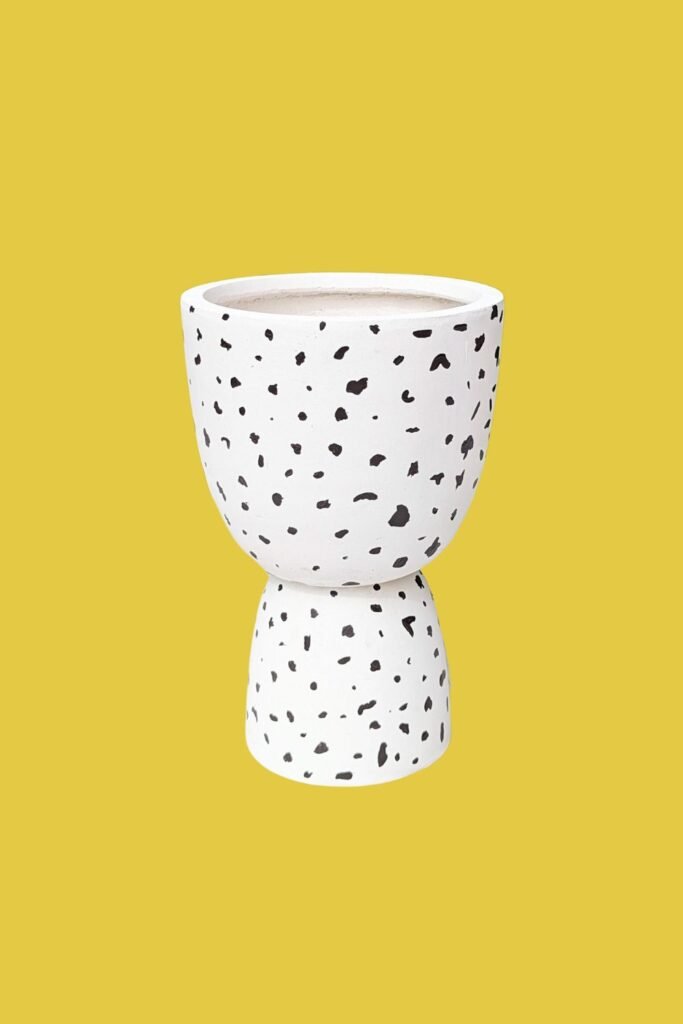
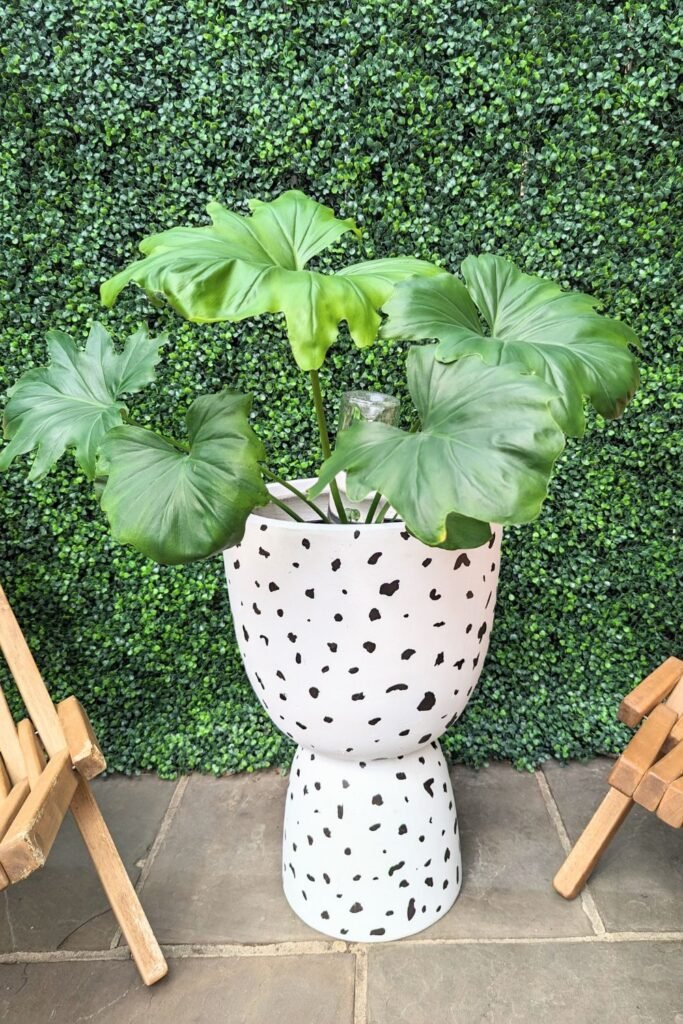
DIY: How to Make an Hourglass Planter
I’ve seen hourglass planters online while doing some online shopping but they were smaller than I envisioned. I wanted a large statement planter for our patio so I decided to build one!
Hourglass planters are a popular choice among plant enthusiasts, including me, due to their unique shape and design. Not only are hourglass planters aesthetically pleasing but also practical. The wider top of the planter provides ample space for the plant to flourish and the narrow waist funnels excess water.
The hourglass shape is a great way to add visual interest and dimension to any room! This shape draws the eye and adds depth to a space, making it a perfect focal point. I think a large plant that fans out such as a palm would be stunning in this planter.

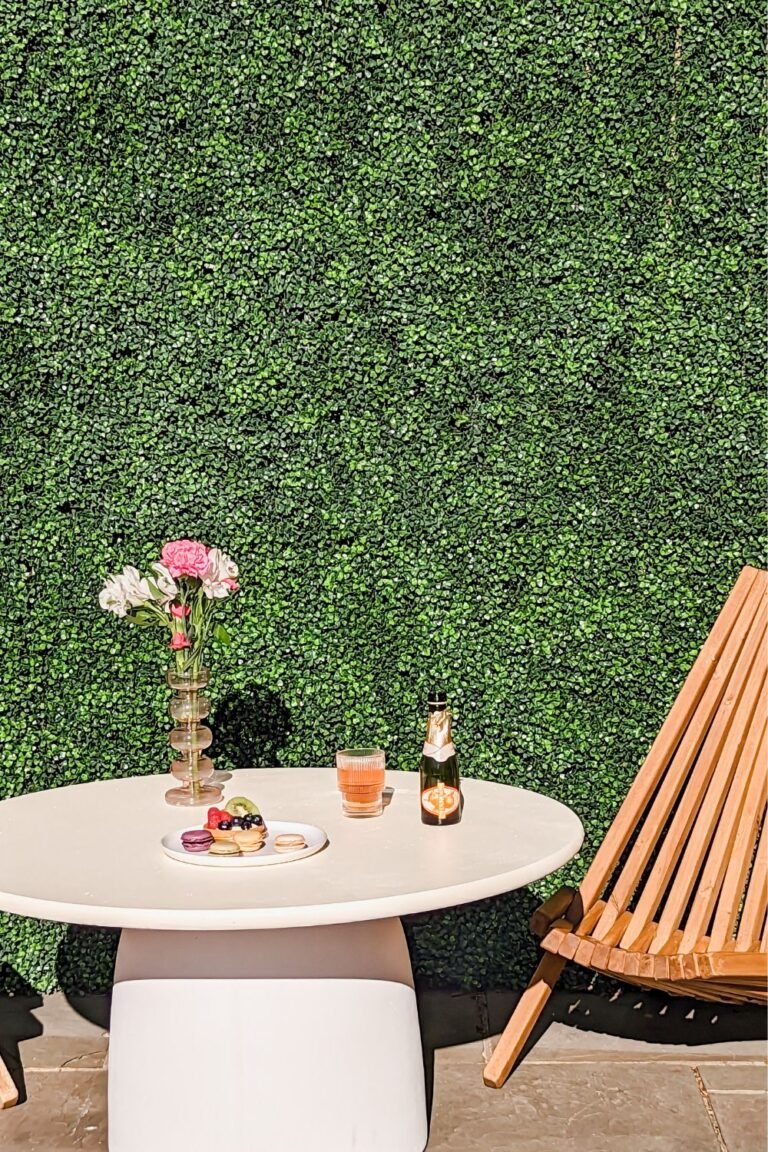
This DIY hourglass planter is a part of the Spring ORC to redesign our patio. Be sure to check out the other amazing projects on the One Room Challenge website!
You can watch my reel on how to make a DIY hourglass planter here. And if you love this check out my other DIY home projects.
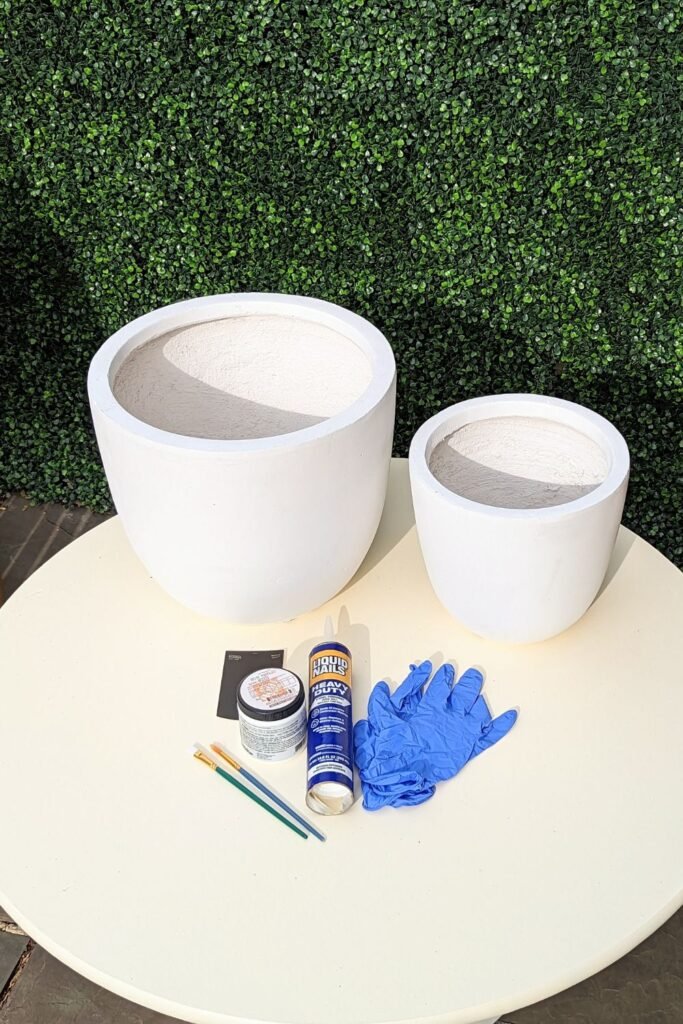
MATERIALS & TOOLS
- 14″ and 10″ Concrete Planters
- Liquid Nails
- Behr Marquee Outdoor Paint (satin finish)
- Small paint brush
INSTRUCTIONS
- Flip the smaller planter over so that the drainage hole is pointing upwards.
- Squeeze liquid nails around the bottom of the planter but don’t cover the drainage hole.
- Place the larger planter on top and apply pressure. Make sure to line up the drainage holes so that your planter will still drain water.
- If the liquid nails comes out from the sides you can use gloves to smooth it out.
- Allow your planter to dry for a few hours then you can paint!
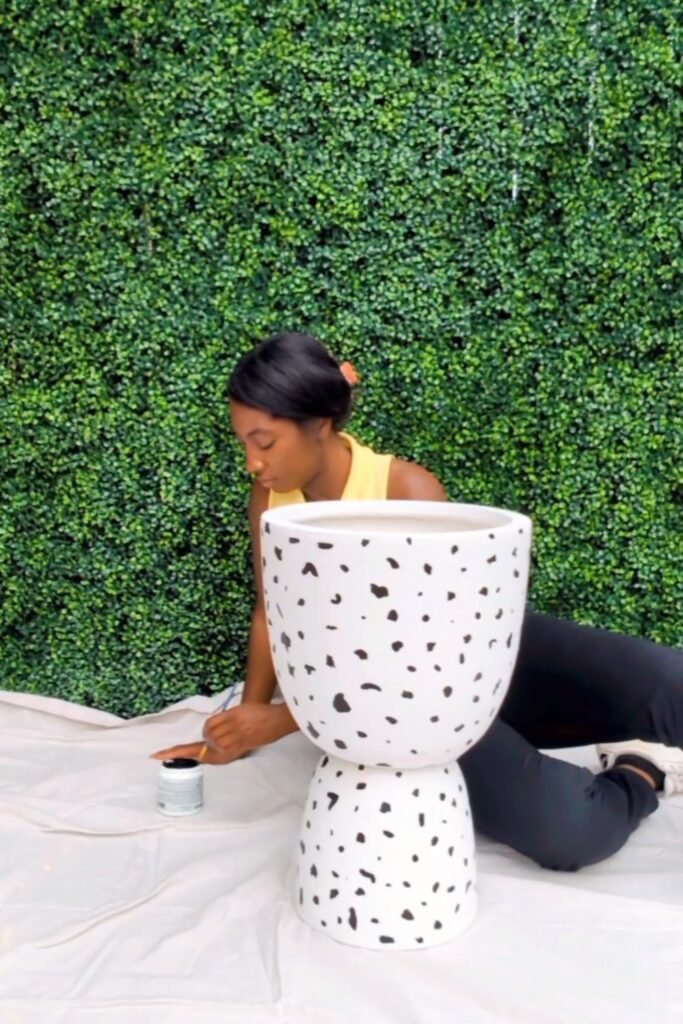
- Dab your paint brush and make small brush stroke designs on your planter.
- Allow the paint to dry for at least 6 hours or as indicated on your paint instructions.
If you make your own DIY hourglass planter please tag me on Instagram I would love to see and share your planter!
Very cute planter!!!