DIY: How to Install Faux Boxwood Wall
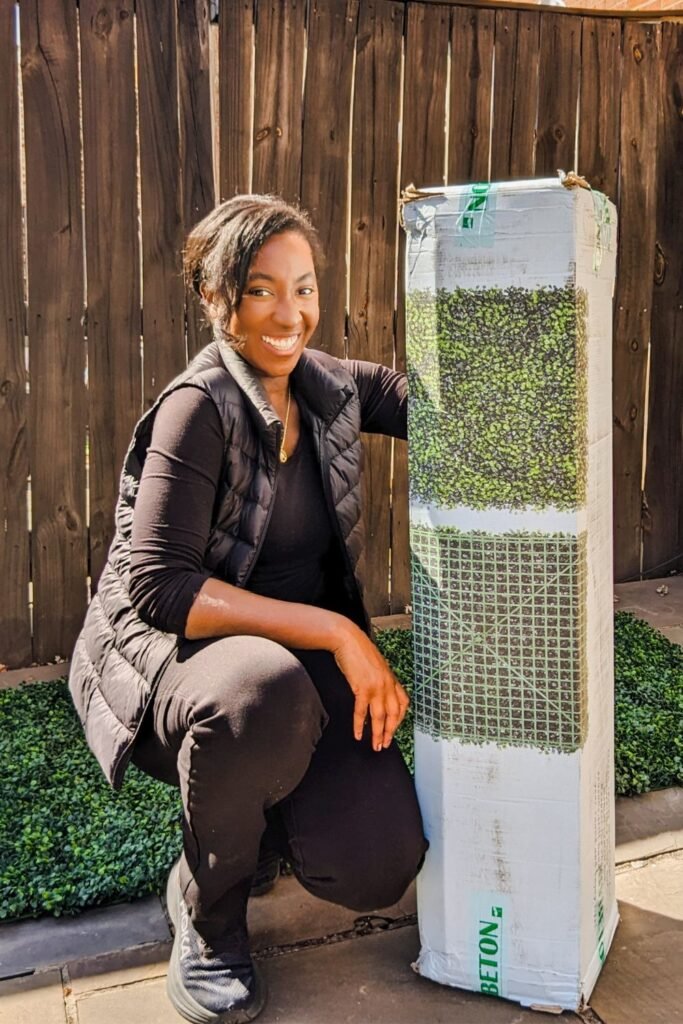
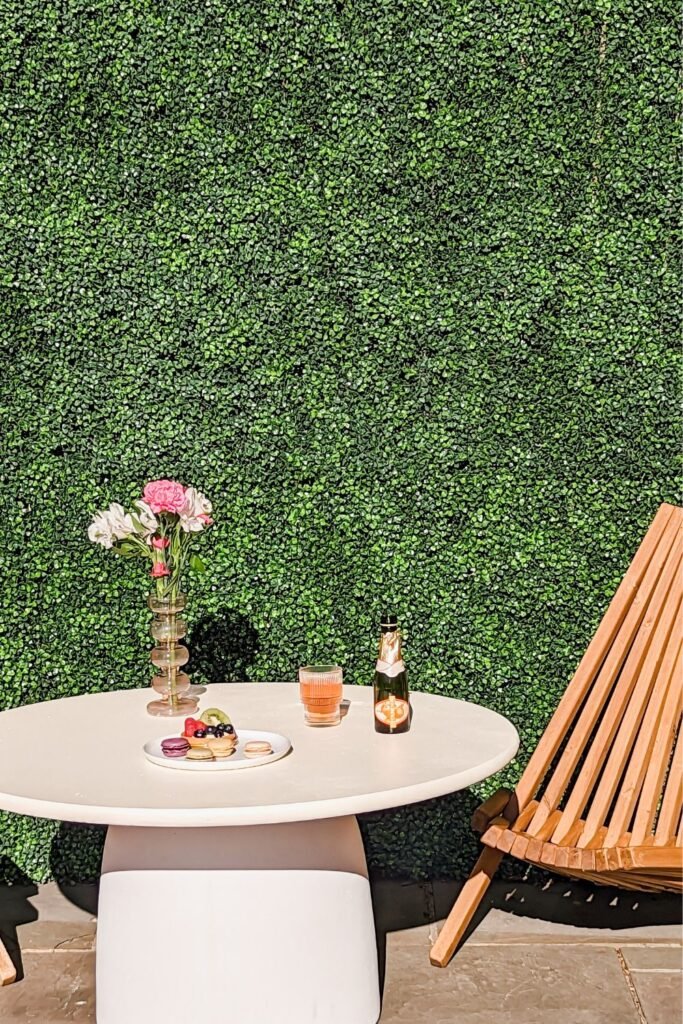
We installed a FAUX BOXWOOD WALL! This was surprisingly very easy to install and makes our space look SO much nicer. It took about 2 hours to get the faux boxwood pieces up and smoothed. But I think you could do it in even less time. It also depends on the amount of wall space that you need to cover. I recommend getting a roll of boxwood rather than the individual square pieces. It would take much longer to attach all the pieces one by one.
You will need 2 people for this DIY. The boxwood is heavier than it looks, so you need someone to hold it up while you drill. After drilling, you just need one person to go through and staple it to the wood fence.
If you have a chain-link fence instead of wood, you could probably use zip ties to attach it. And if you’re feeling really ambitious you could build a small wood fence to cover up the chain-link fence.
We are participating in the Spring ORC to refresh our patio within 8 weeks. Thank you for following along and check out the other projects on the One Room Challenge website!
You can watch my reel on how to install a faux boxwood wall here. And check out my other DIYs here.

Why you should install a faux boxwood wall
If you’re looking for a way to add some greenery to your outdoor space, a faux boxwood wall is a great option. Here are some reasons why you should consider installing one:
Low Maintenance
One of the biggest advantages of a faux boxwood wall is that it requires very little maintenance. Unlike real plants, you don’t need to water, prune, or fertilize it. This makes it an ideal choice for people who don’t have the time to do maintenance.
Durable
Faux boxwood walls are made from high-quality materials that are designed to withstand the elements. The boxwood that I bought is UV-resistant and flame retardant (in case anyone is cooking something nearby). So far it has held up against rain, wind, and sun exposure. The manufacturer notes say not to worry about it fading or falling apart. I’ll check back in with you guys in a few years for how its held up!
Versatile
Another great thing about faux boxwood walls is that they’re incredibly versatile! You can use them to add some greenery to any space. I can imagine myself hanging other décor items on top of it for occasions and holidays. They’re also easy to install and can be customized to fit any size or shape.
Cost-Effective
While the initial cost of a faux boxwood wall may be higher than that of a real boxwood wall, it’s a cost-effective option in the long run. Since it requires very little maintenance, you won’t have to spend money on watering, pruning, or fertilizing it. Additionally, it should last for many years, so you won’t have to replace it as often as you would with a living boxwood wall. We’ve have some rainy thunderstorms with wind and we haven’t experienced any shedding.
MATERIALS & TOOLS

- Artificial Boxwood Privacy Fence Screen
- Tape measure
- Scissors
- Drill + Kit
- Electric Staple Gun (cordless is easier)
- Staples (I used the T50 3/8″ 10mm staples)
- Wood screws (I used #10 3/4″ screws)
INSTRUCTIONS
- Clear off your fence if you have anything currently hanging on it.
- Measure the height and width of your fence using a tape measure.
- Cut down your faux boxwood wall to size. You will need to cut in-between the small squares so you maintain the integrity of the lattice. You can watched how I cut it here.
- I recommend piecing your faux boxwood wall together on the ground so you know how to put them up. Especially if you have to jigsaw some pieces.
- Find a tab on one corner of the faux boxwood. Use a wood screw to drill it into the fence. Then repeat that for each of the four corners of your boxwood pieces. You can see how we drill it in here.
- After all your boxwood pieces are drilled in, go through and staple the middle of the boxwood to the fence so it lays flat. Just look for pieces that are bulging out and staple it down.
- Lastly, go around the edges and staple them down. Do the edges last since there may be some movement from the middle and you can pull it taut.
Ok friends, if you end up installing a faux boxwood wall please tag me on Instagram I would love to see and share your pics!